Filebase for IPFS
This guide is for teams who need to manage IPFS hosting themselves. Most creators should use the Scatter Uploader instead.
More in-depth product information can be obtained at https://filebase.com/ ↗.
Before You Start
Make sure your files are prepared correctly:
- Media files must be numbered
1toNwith no prefixes. - JSON files must be named
1,2,3with no.jsonextension. - See Uploader for file prep and Metadata for metadata fields.
Step 1 - Deploy Your Collection
Follow the steps in Deploying Your Collection.
Step 2 - Content Pinning Using Filebase
Create Filebase ↗ account.
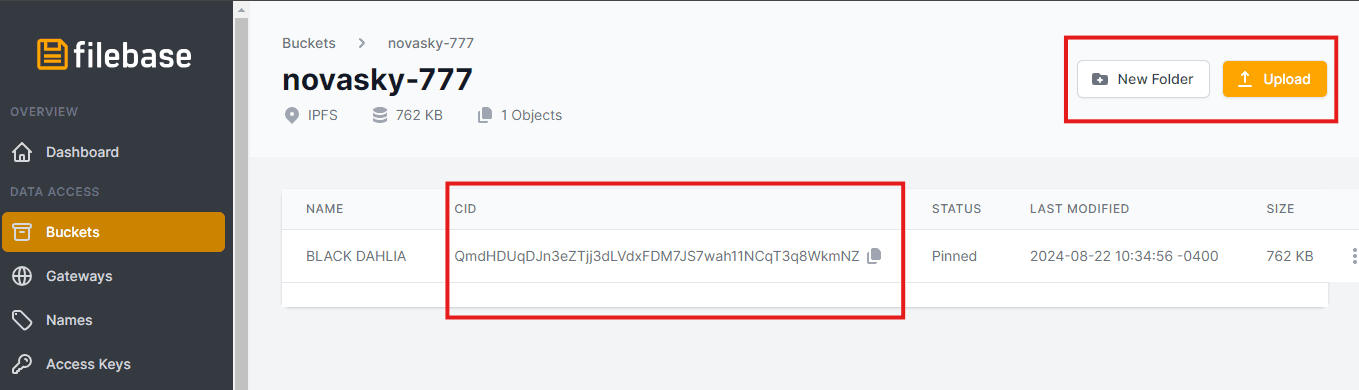
Upload images and get images CID:
- Click on the top right highlighted Upload button and select folder upload
- Select the folder with your images in it
- Once uploaded you will receive a unique CID of images folder as highlighted at the bottom left. Copy and paste this CID and make sure you save it.
Generate or edit metadata:
- Once you've uploaded your images, you will have the images CID necessary for
creating the JSON files. Each JSON file must have an image link that points to
an actual image stored on IPFS (it looks like
"image": "ipfs://CID/1.png"). For more about metadata please read Metadata. You can also use https://webtools.scatter.art/ ↗. - If you already have your metadata generated before, you should edit it with the given images CID, so image links are correct. To update image links use https://webtools.scatter.art/update-image-fields/ ↗.
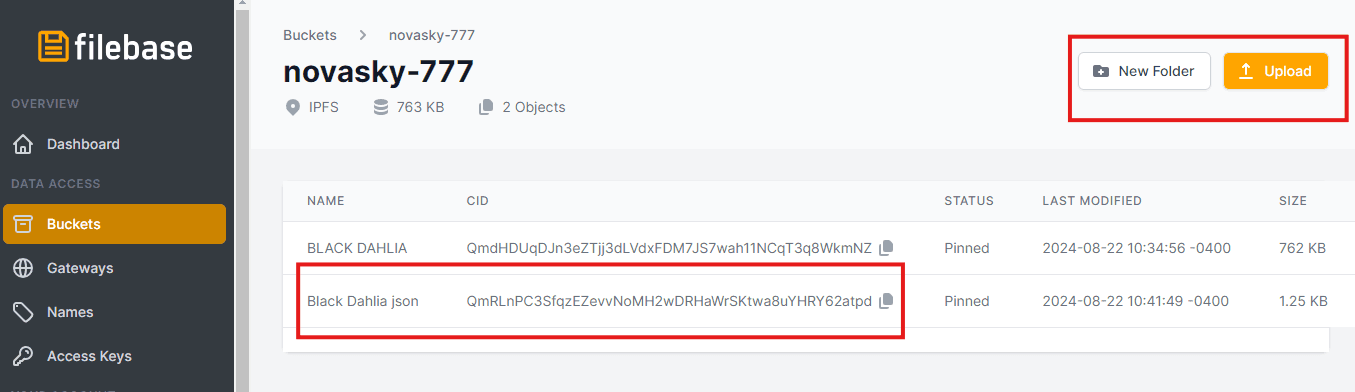
Upload metadata and get metadata CID:
- Click again on the top right highlighted Upload button and select folder upload
- Select the folder with your completed JSON files in it
- Once uploaded you will receive a unique CID of metadata folder as highlighted at the bottom left. Copy and paste this CID and make sure you save it.
- This second CID will be used to set your base URI in your contract.
Please note - if you have a large collection, uploading it all as a folder can time out depending on the size. I.e. if you're attempting to upload a 20Gb folder your internet connection can drop for a second and sever that upload connection. Filebase uploads in parallel to help with that via multi part uploads, but in certain cases that can time out. Most of your normal sized collections should be able to upload as folder with no issue, but if you run into like 20k item collections, their bucket CIDs may be a better route:
- Make sure you choose the IPFS option when creating a bucket
- Users can upload files individually one at a time into a Filebase bucket. There's no need to batch-upload all files simultaneously.
- Once all desired files are uploaded, users can select the Generate Bucket CID option. This action instantly generates an IPFS folder CID that mirrors the file structure and layout of the Filebase bucket.
- You can also easily modify files - if you need to change or remove files, simply delete the unwanted files from the bucket and select Generate Bucket CID again. A new folder CID is created instantly, without the need to re-upload the remaining files.
Step 3 - Set Your Base URI
Set your base URI in the Contract tab using the metadata CID. The correct
format is ipfs://CID/. For more detail, see IPFS Hosting.
Step 4 - Set Up Your Collection Profile
Continue with Setting Up Your Collection Profile.
Step 5 - Set Up Mint Lists
Continue with Mint Lists.